
Adding a House and Selecting Repairs
Adding a House, Creating Rooms and Selecting Repairs is Fast and Easy. The Home Remodeling Cost Calculator is designed to allow you to estimate repair costs in the same amount of time it takes to walk thru a house. Gone are the days of multiple measurements in every room and trying to remember what measurements to take. The tool does it for you!
Start by Creating the Property. You can do this at the house but if you're planning on looking at more than one house at a time, I recommend setting the houses up before you start your tour. It only takes a few minutes and you'll have all the info you need either from a Realtor listing sheet or from public records.
Log In
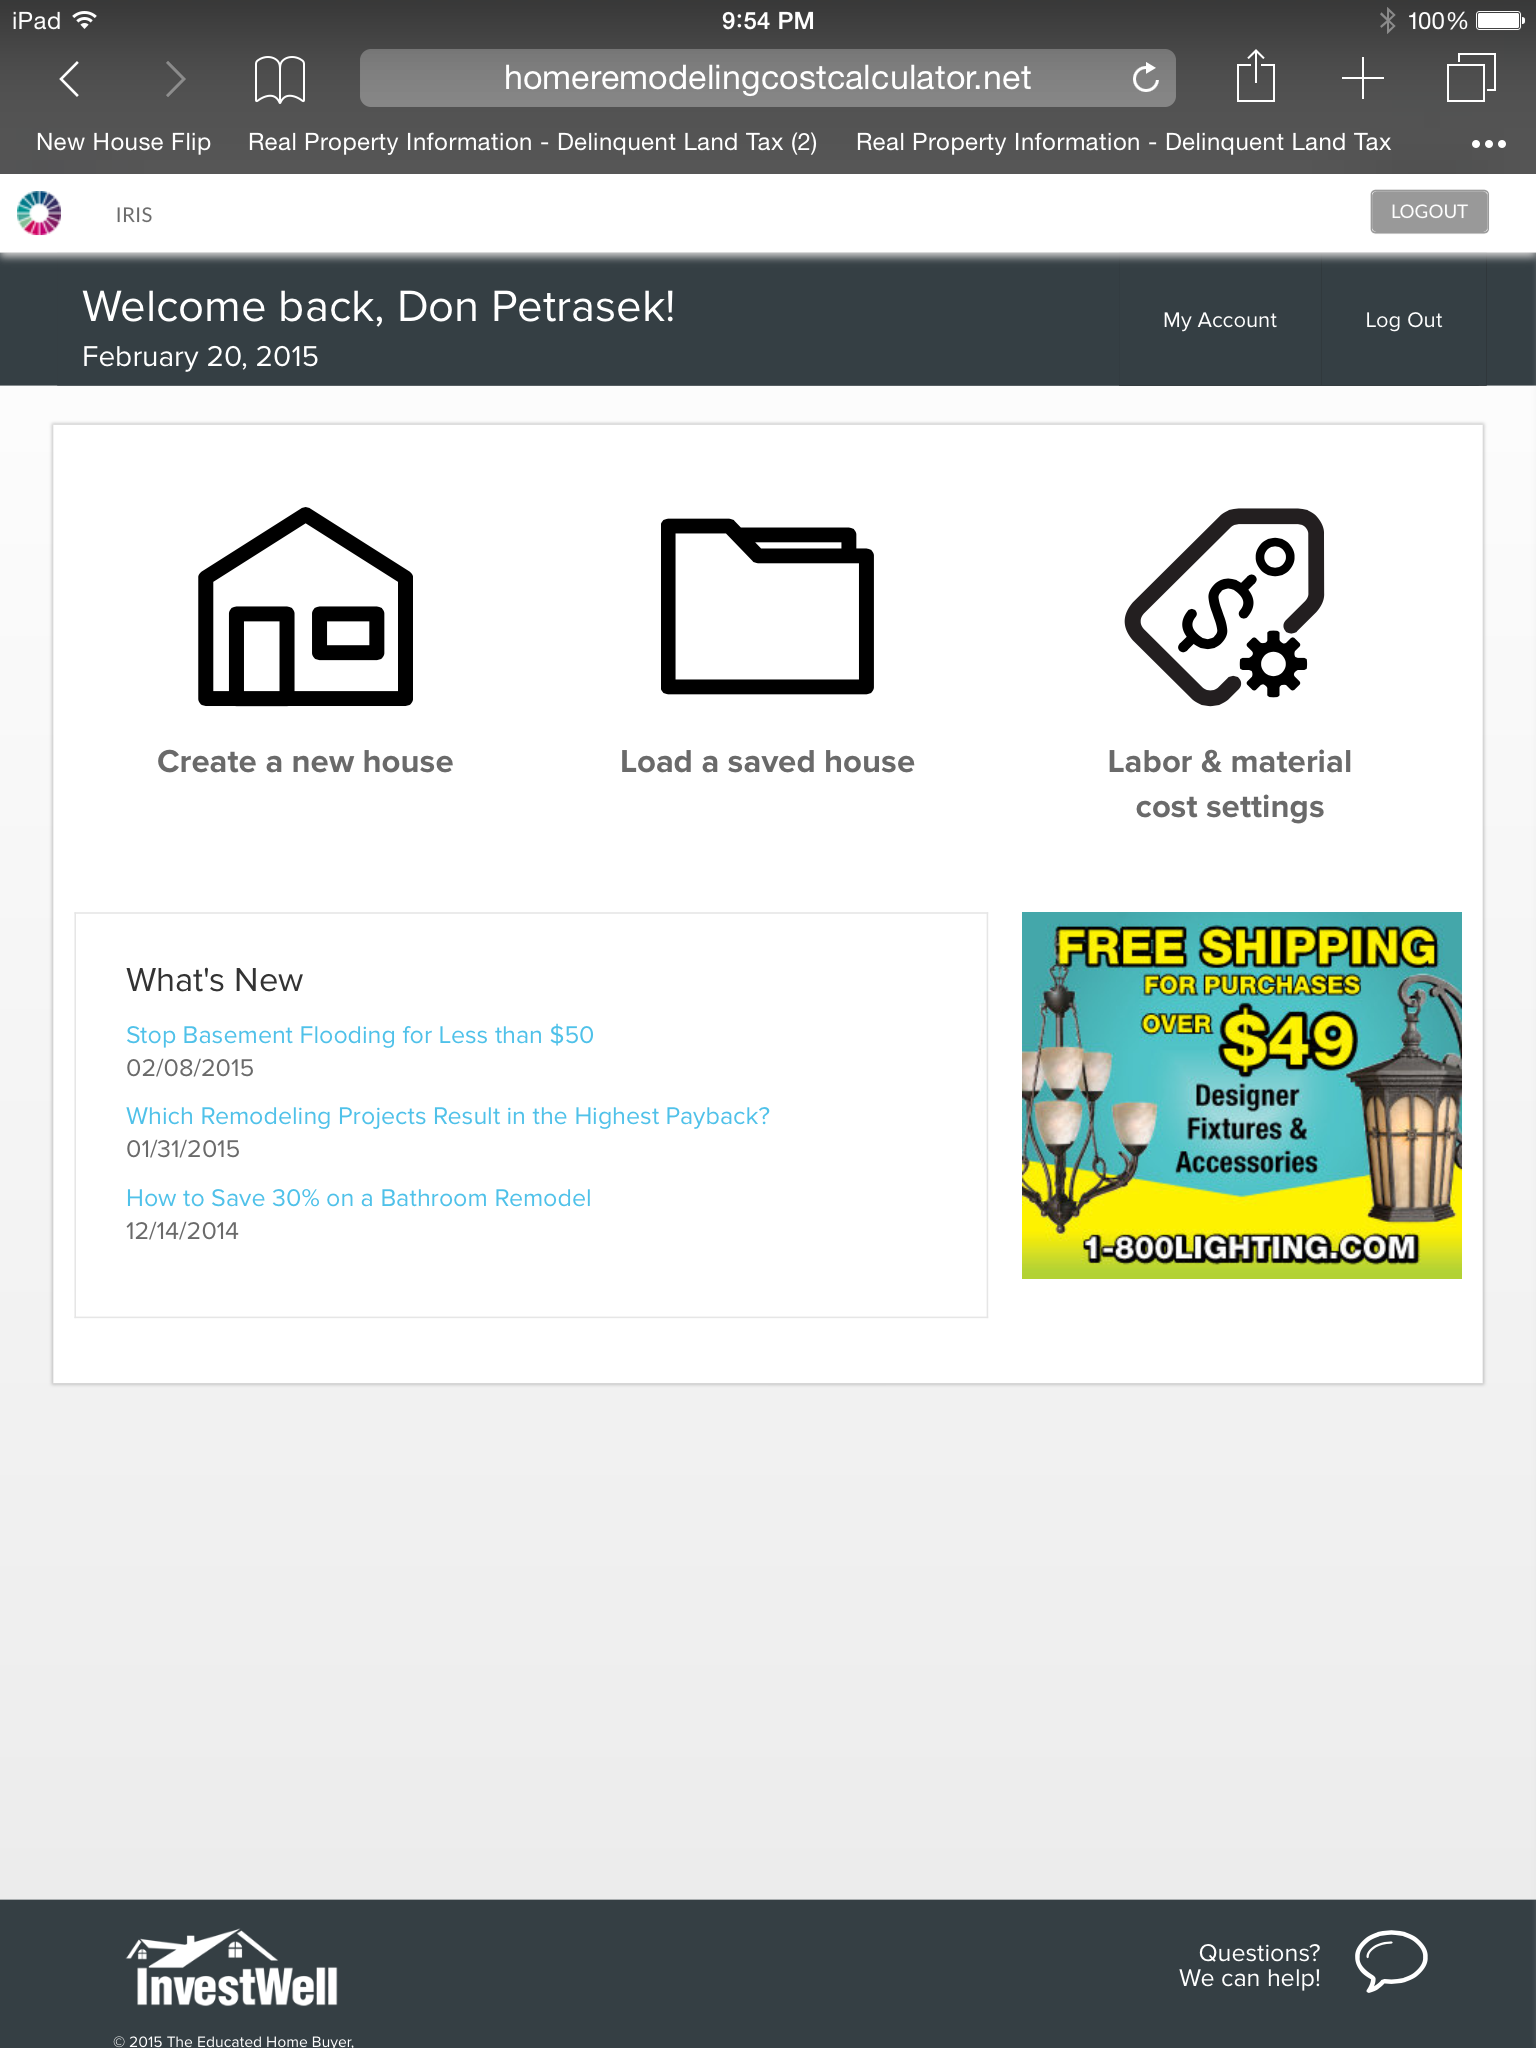
After logging in, you'll reach the page to the left.
Select "Create a new house"
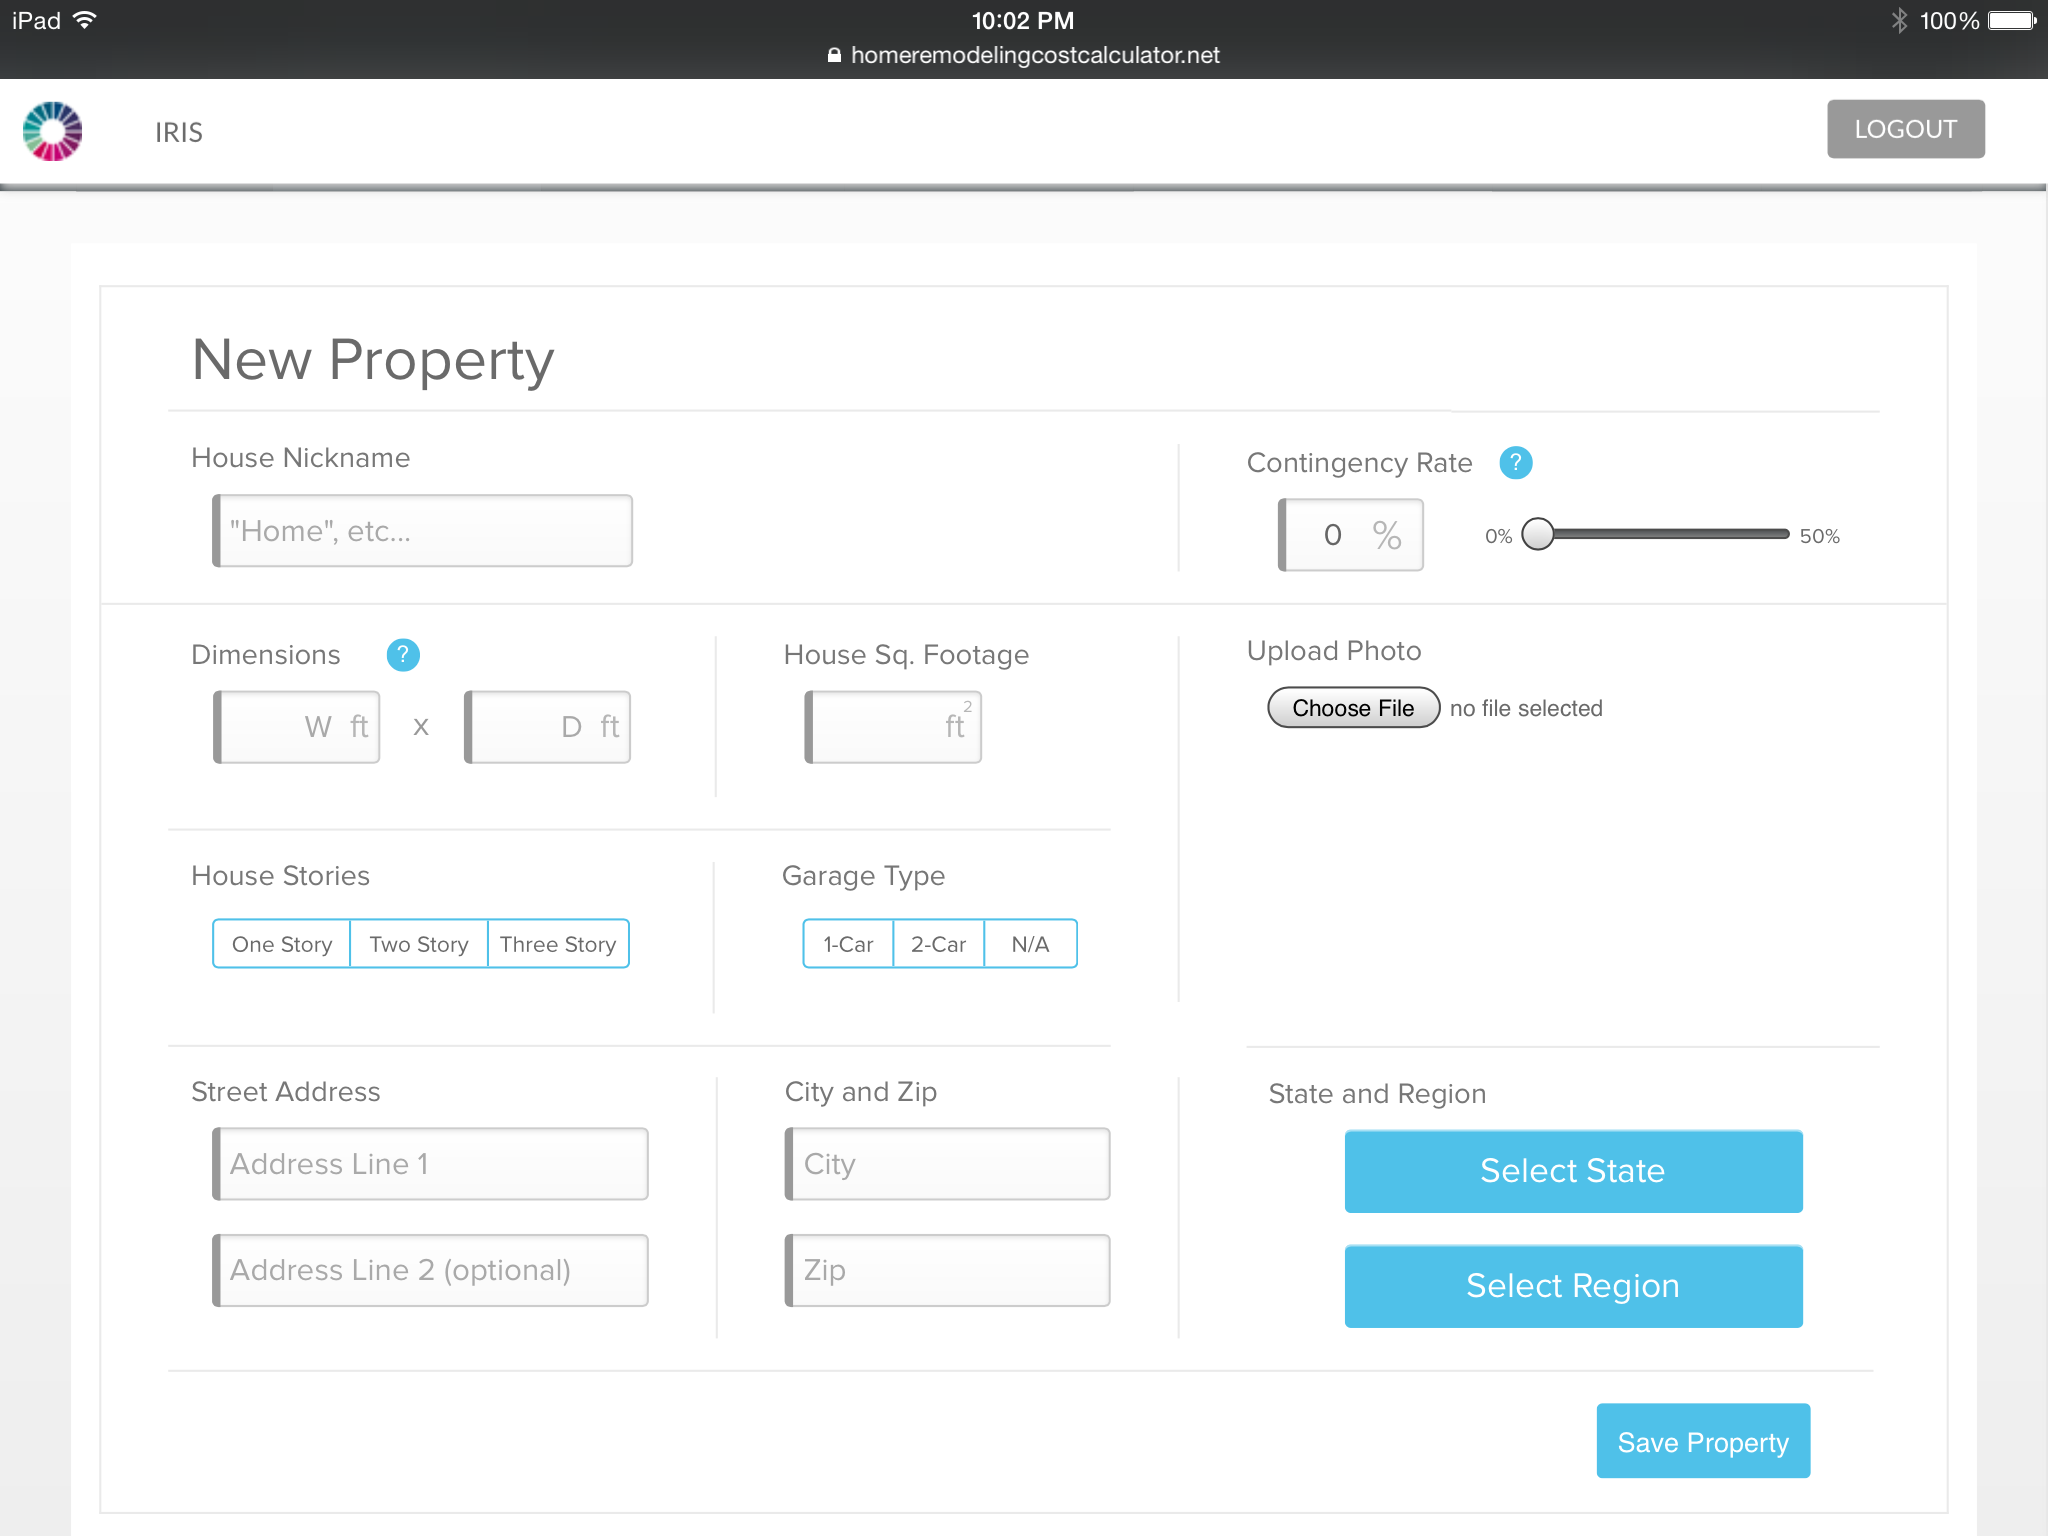
You will then reach the "New Property" page
You can access any houses that have already been created by clicking on "Load a saved house"
Enter Data on New Property Page
House Nickname: Description of House that will show in one of the views on the Saved Properties Page (another view displays address). Alpha numeric to 255 characters
Dimensions: Measurement of house front side to side (W) and front of the house to back of the house (in feet). Used for siding, gutter, soffit and facia calculations.
House square footage: Enter total square footage of house. Used for HVAC and roof calculations
House Stories: Selection required. Used for siding calculations.
Garage: Selection required. Used for garage doors and roof calculations.
Contingency: Select 0% to 50%. This is the percentage added to Labor and Materials costs to compensate for unexpected repairs. An additional contingency can be added to any room in dollars if desired.
Photo Upload: the photo will appear as the identifier for the house in one of the Saved Houses views, but is optional. File formats supported: jpg, gif, png. Max file size is 2MB.
Enter address of the property. This is used to identify the house and also to locate the house on the map view of the Saved houses page.
Select State that house is located in and the best region description. This is used to enable the regional cost adjustment factor. Some states do not have multiple regions (costs are the same throughout the state).
Select "Save Property" and you'll be taken to the "Choose rooms to repair for" page. If you remain on the New Property page, that means you missed a selection.
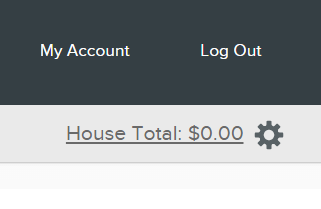 If you need to modify the Property details or want to delete the property, select the house from the Saved Houses page and click on the icon next to the House Total on the upper right hand side of the page (looks like a gear). This will take you back to the property settings page where you can make changes or delete the property. If you change any field that affects calculations (like dimensions or sq ft), then go to repairs that use these figures for calculations, delete the repair and then reselect the repair so that it uses the new data.
Don't Worry About Measuring Exterior House Dimensions!
You can easily estimate house dimensions using room sizes. Just add the room dimensions that parallel the front and side of the house. Let's look at an example (house plan from www.eplans.com)
 For this house, you know that the front porch spans the entire front of the house so the width dimension of the house = 30 ft. The length of the house is made up of the Front Porch (6' include this only if the porch has gutters or siding) + Living Room (14' 6") + Kitchen (9' 2") + Screen Porch (5' 8"). Adding these gives you 35' 4" - so enter 35' for the other dimension. If you are looking at a property that's listed on the MLS, you'll find the room sizes in the listing sheet. For properties that aren't, if you're setting up the property before visiting the house you can just guess at the dimensions based on the square footage of the house and then adjust the dimensions once you've measured the room sizes. No reason to take a tape measure outside - especially if its pouring rain or in the middle of the winter!
Loading a Saved House
You can create a New Property and save it so that its ready for repair selections once you get to the house. All houses that you create and enter repairs for are saved until you delete them. If your trial version or paid subscription expires, the house data you entered is stored for 6 months so that when you activate or reactivate your paid subscription you again have access to all the data you entered and don't have to re-enter it.
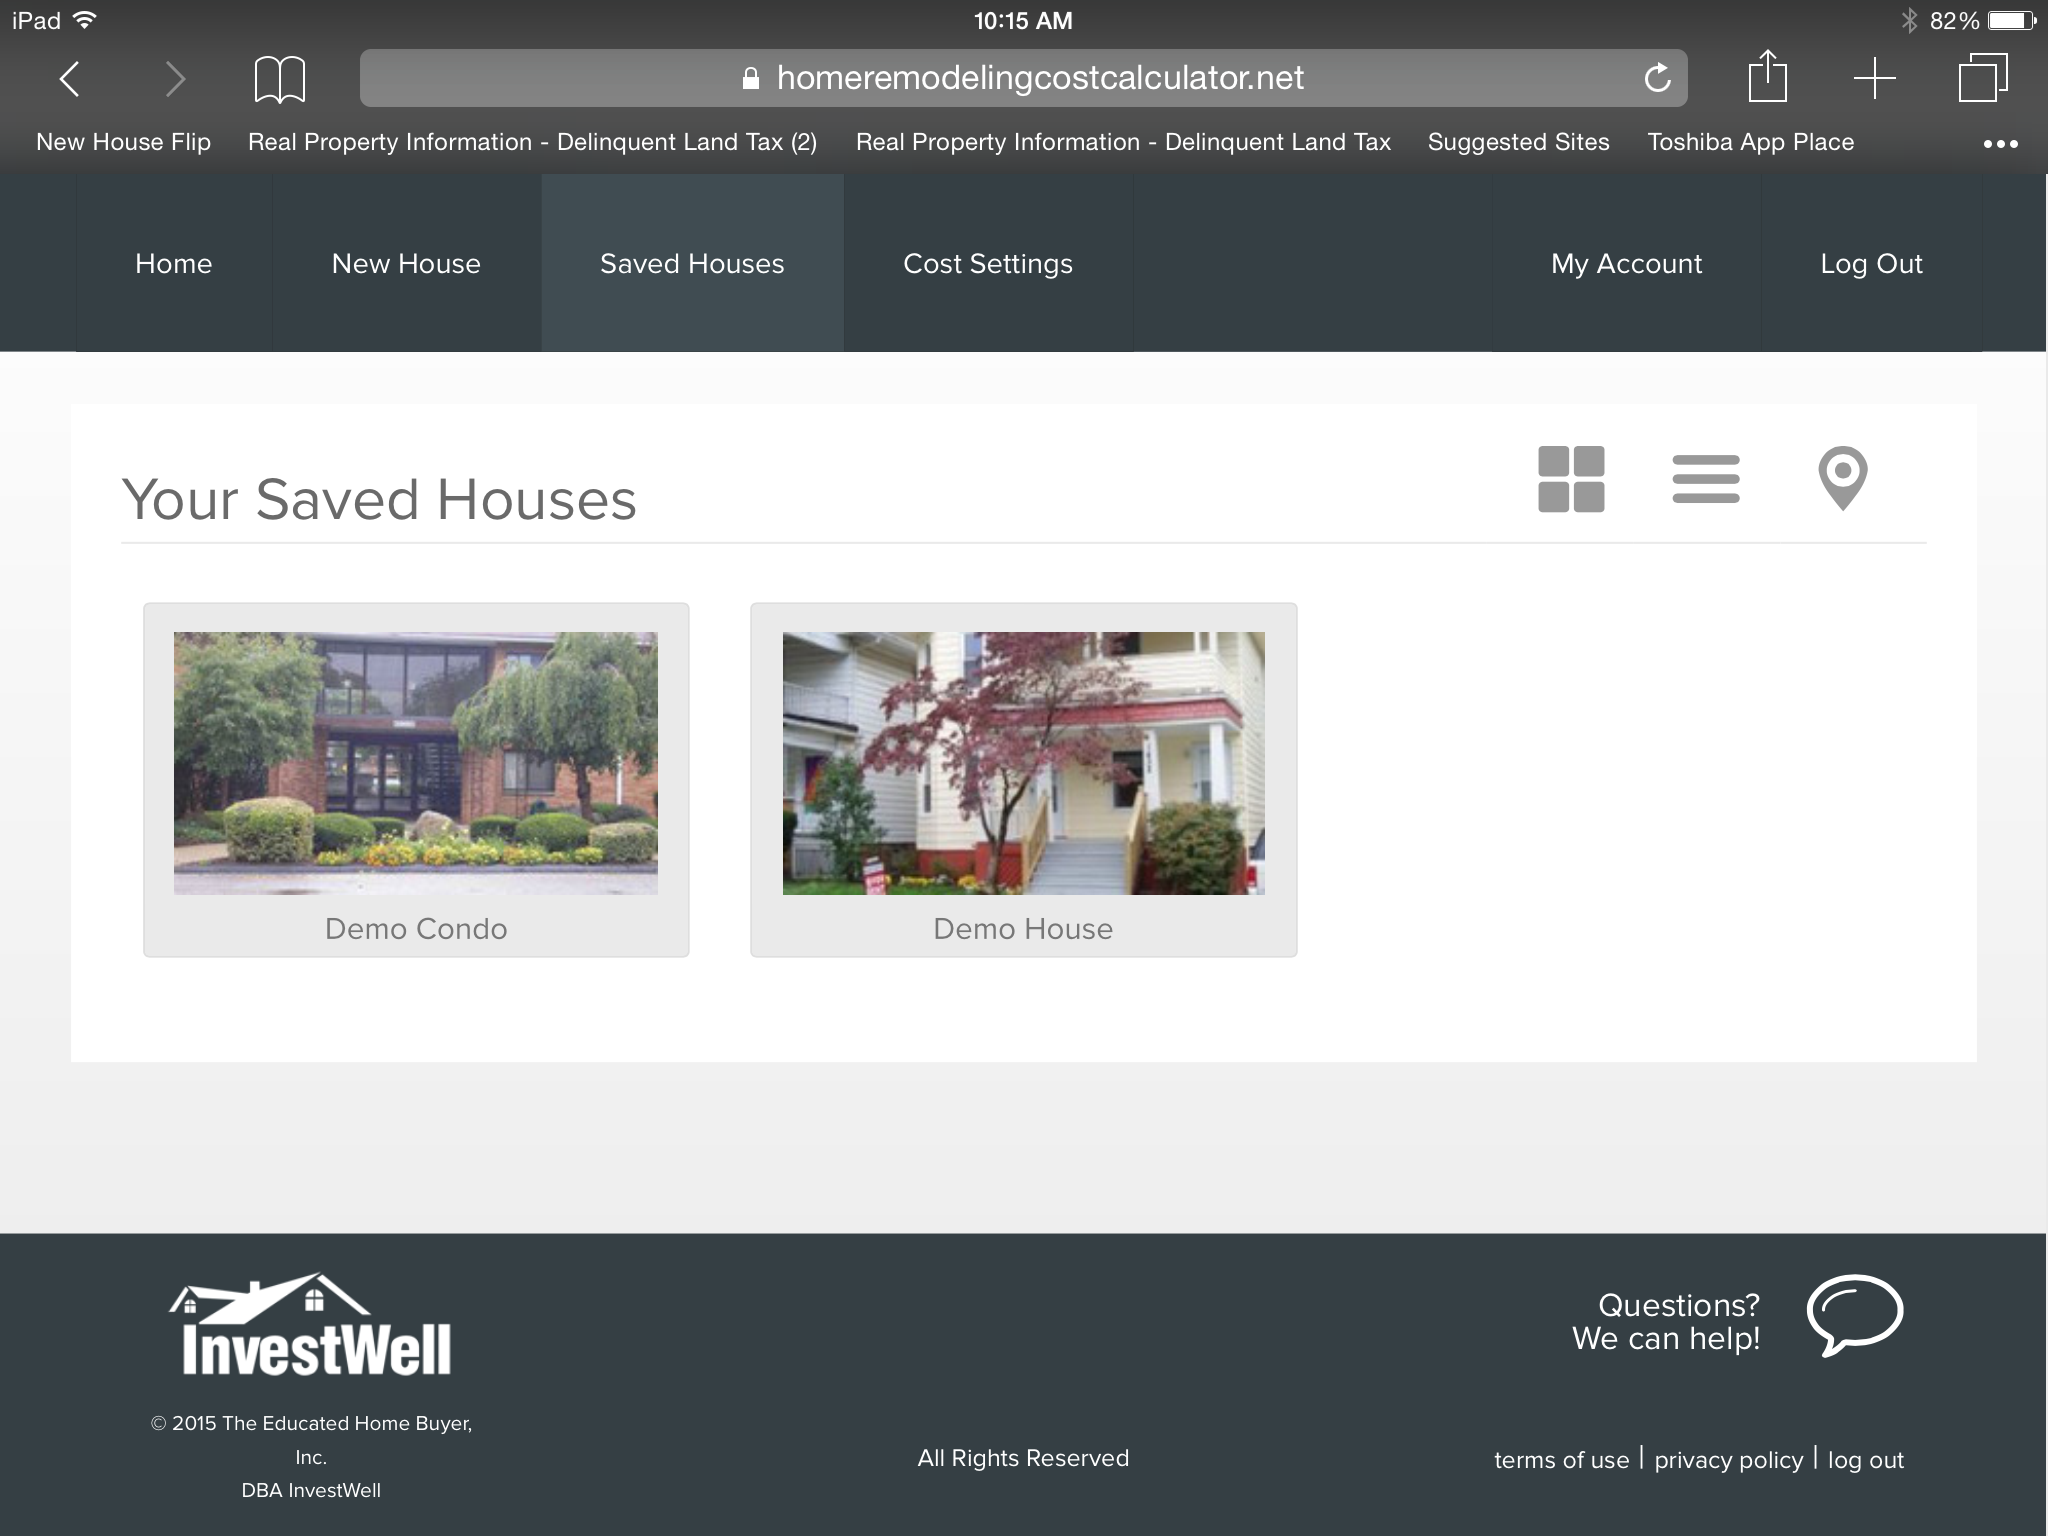
The Saved Houses feature includes 3 ways to view your saved houses:
- Picture View: This view displays the picture of the house that you uploaded on the New Property page. It also displays the property nickname.
- List View: This view displays a list of your saved properties by address
- Map View: This view displays a map with the location of each saved property
Creating a Room
When you create a New Property or Select a House from your Saved Houses page, you'll arrive at the Choose rooms to repair page. If your property is new, you'll see the Exterior, Mechanicals, and Add New Room Icons. Click on the Exterior or Mechanicals to immediately start selecting that type of repair.
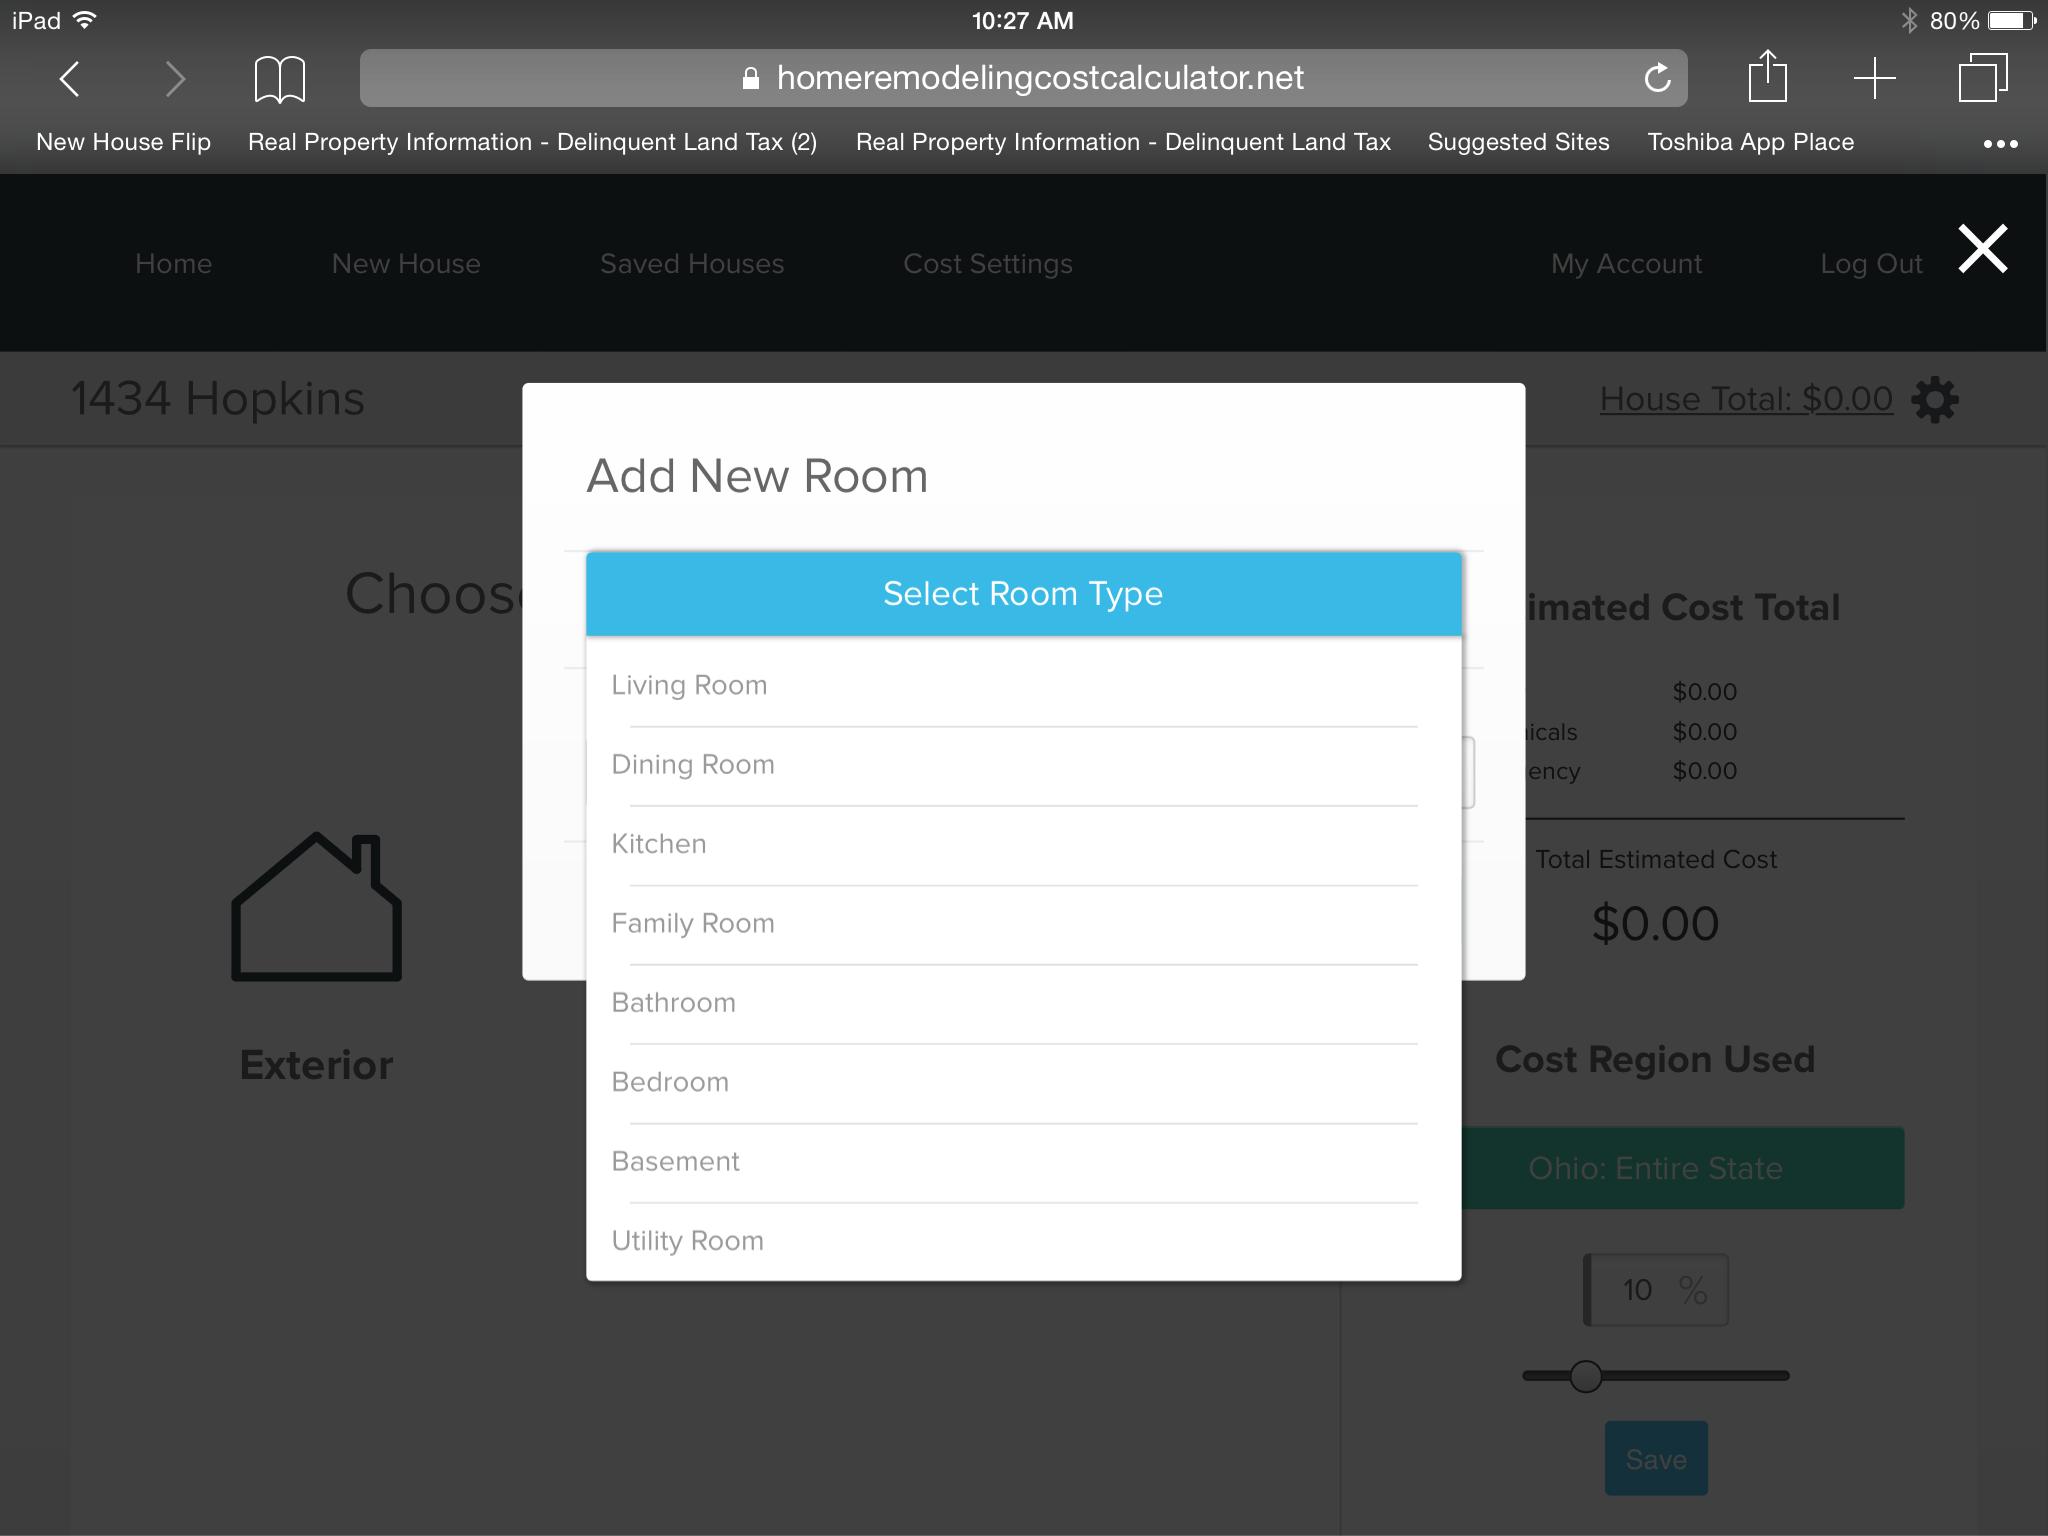
To add a new room to select repairs in, click on the Add New Room icon. A drop down menu will appear. Select the type of room you want to add from the drop down. The room type includes repairs that are typically associated with that area of the house. Kitchen repairs for example include appliances, countertops, and cabinets - living room repairs don't include these items. I've kept the repair selection process as streamlined as possible so that you aren't fumbling through dozens of repair line selection choices when that's not necessary.
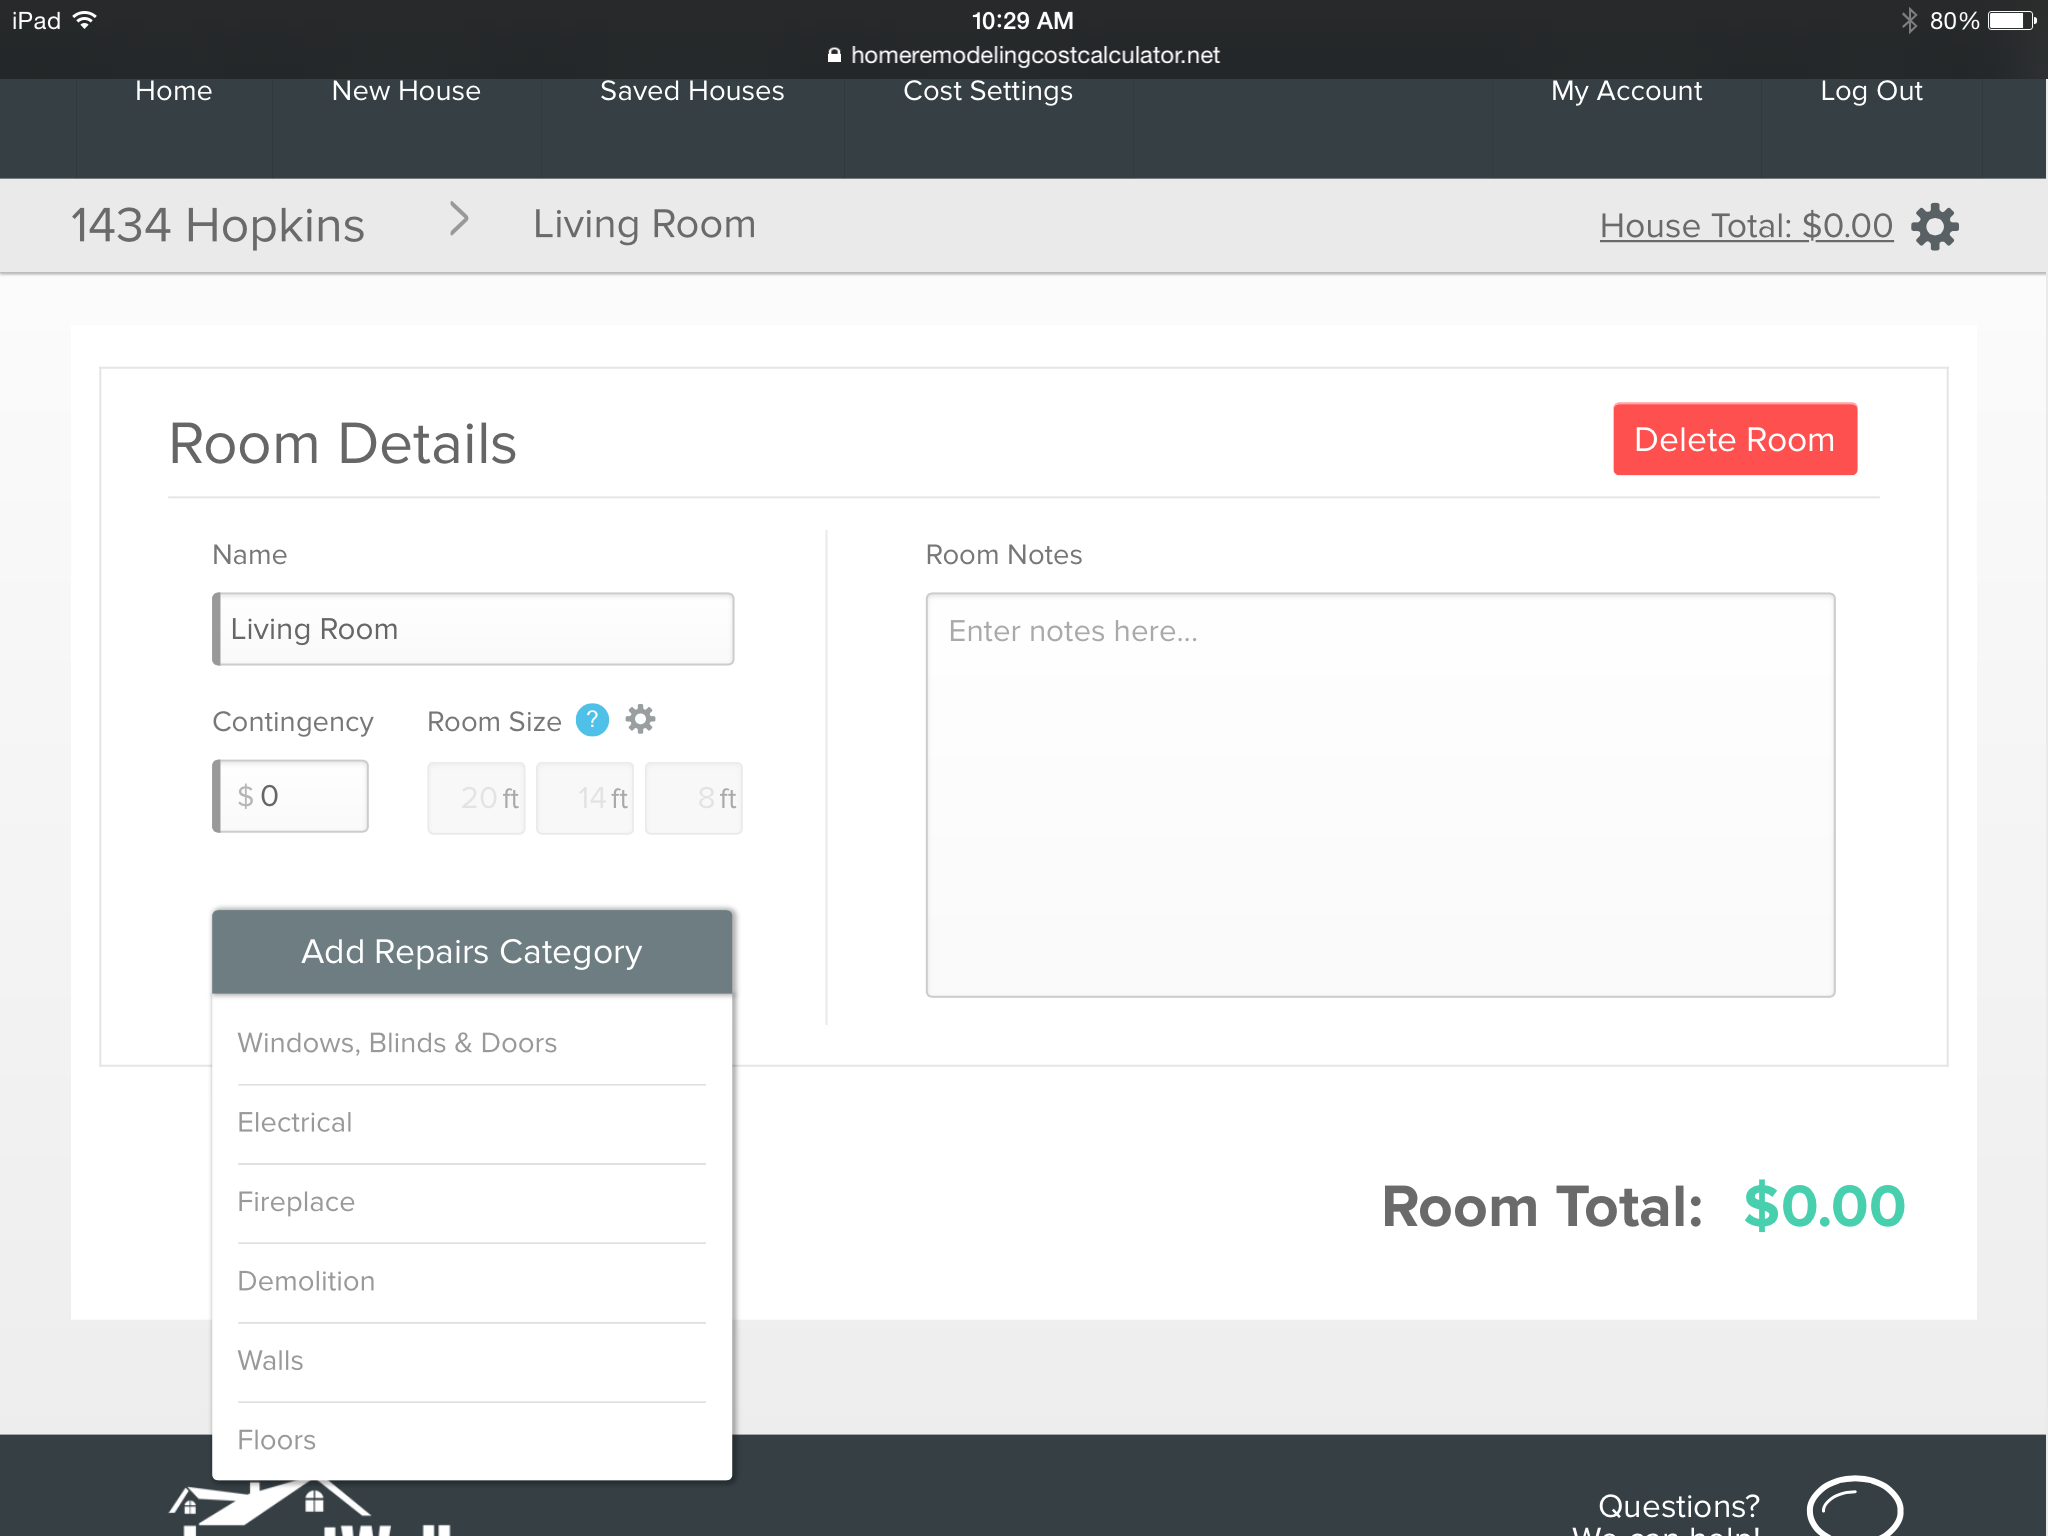
 Room set up is easy. Just enter a name for the room that will identify it for you - like Upstairs Purple Bedroom and the room dimensions. This is one of the few measurements you need to enter. A number of items are calculated automatically from room dimensions, like drywalling & painting walls, installing baseboards and flooring. Ceiling height defaults to 8 ft, which is pretty standard, but make sure you change this if you have high ceilings so that the most accurate estimates possible are created. You can add an contingency amount in dollars to each room. Note that this will be added on top of the % contingency that's applied to all repairs - not in lieu of.
Selecting Repairs
Once you have finished creating the room, click on the Add Repairs Category and you'll get a drop down menu that includes all the groups of repairs that are applicable to that room. Choose one and the Choose Repair Type selection will appear. Click on this and a drop down with all the individual repair line items that are included in the repair group will appear. For example, under walls you'll find: Hang Drywall, Finish Drywall, Remove Wallpaper, Paint Walls and Prime Walls.
Click on a repair and the Choose Product Line box will appear. This allows you to choose the specific material type you want to use. The Home Remodeling Cost Calculator comes loaded with a selection of the most commonly used materials and you can easily add a material type - either at the time you're selecting a repair or by adding it in the Cost Settings area.
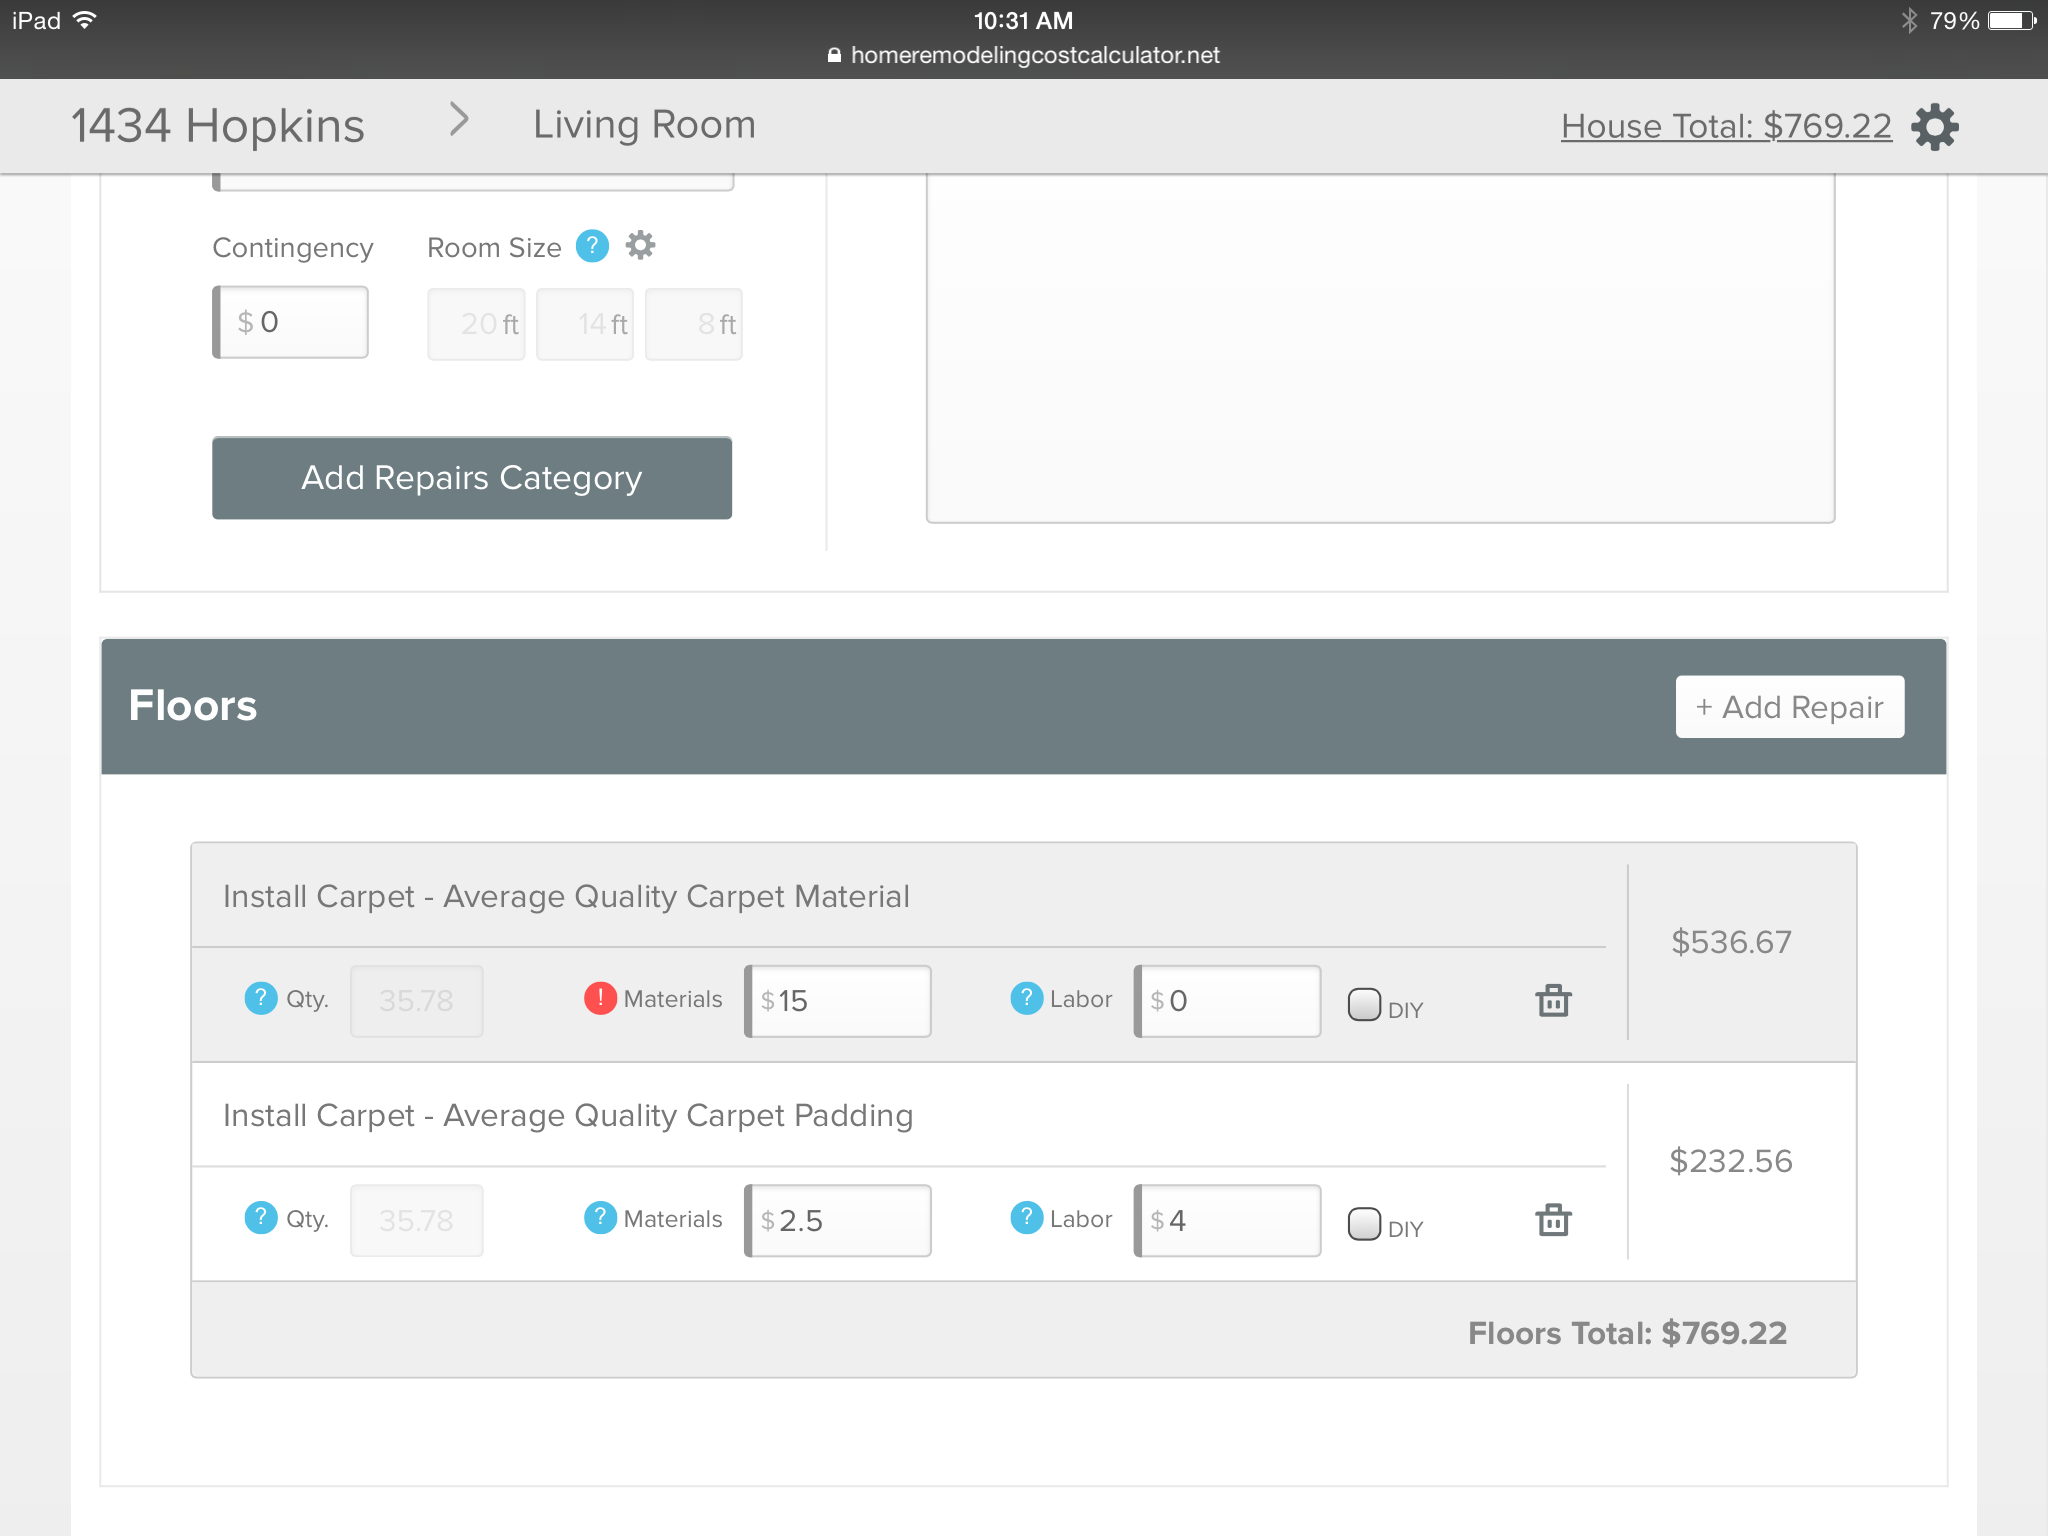 Once you've selected your materials, the repair line item will appear, displaying the total cost of the repair, the materials cost used(per unit) and the labor cost used (again per unit). If you change any costs in the Cost Settings area, your changes will automatically be applied. By clicking on the blue question mark box, you can see the amount of units used in the calculation, both the system and settings (your changes) costs and the total amount of cost applied to this repair. You can adjust the material and/or labor cost applied to the repair and the change will be immediately applied to the repair (but only to that repair - to change cost used everywhere use the Cost Settings function). The red question marks contain comments about how labor or materials costs are applied - please read these before adjusting any costs! Click the DIY (Do It Yourself) box and the labor cost will be removed. Click the garbage can icon to delete the repair line item.
The line item repair cost will automatically be added to both the Room Total and the House Total.